Standard miter saw blades are designed for wood, not metal. Try slicing through steel or aluminum with a wood blade, and you’ll end up with a melted mess, ruined teeth, and possibly a trip to the ER. Metal cutting blades are purpose-built with different tooth geometry, materials, and RPM tolerances to handle ferrous and non-ferrous metals safely. Whether someone’s fabricating brackets, cutting conduit, or trimming angle iron for a backyard project, the right blade makes all the difference between clean cuts and frustration.
Table of Contents
ToggleKey Takeaways
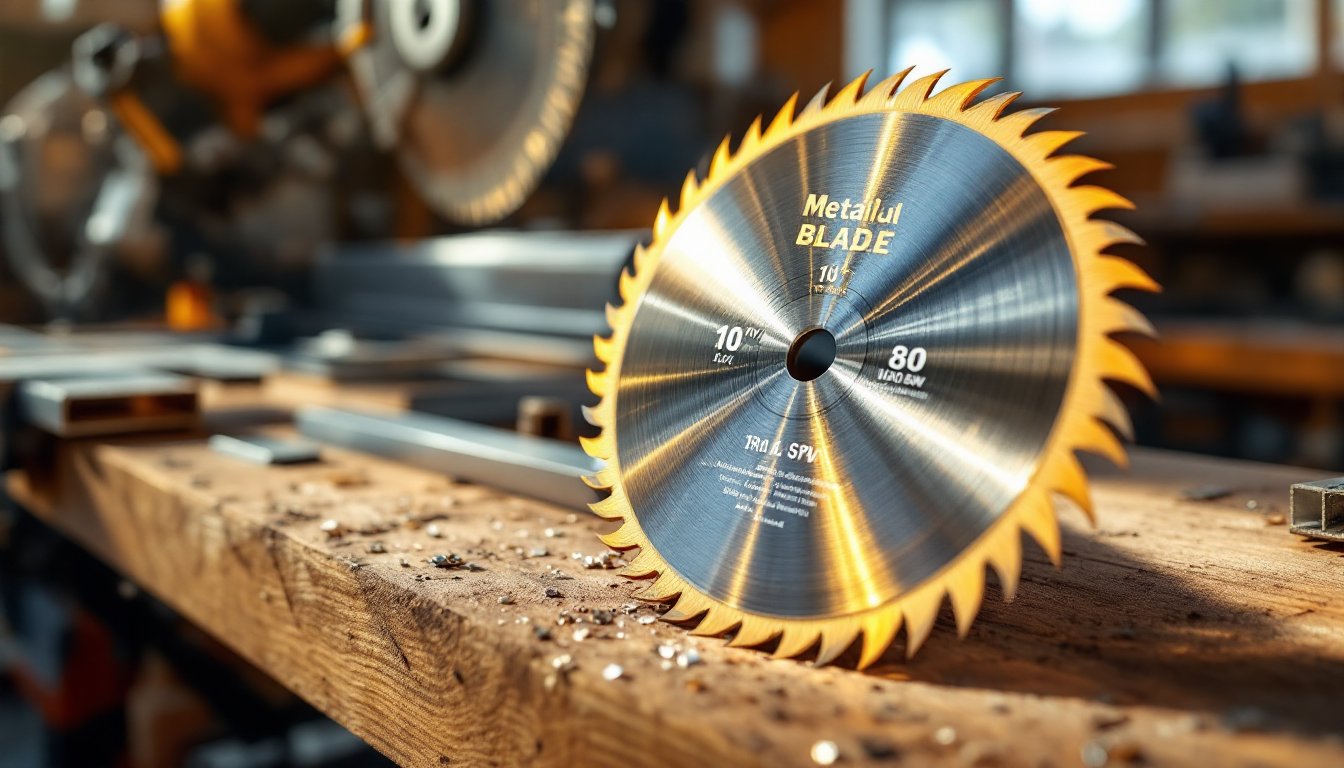
- A metal cutting blade for miter saw features higher tooth counts (60-100+ teeth), zero or negative rake angles, and carbide-tipped or abrasive materials designed to handle heat and friction that would destroy standard wood blades.
- Carbide-tipped blades excel for clean, precise cuts in aluminum, copper, and mild steel, while abrasive blades are cheaper ($10-$30) but wear quickly and produce rough edges best suited for rough fabrication or demolition work.
- Always verify your metal cutting blade’s maximum RPM rating against your saw’s no-load speed listed in the manual—running a blade beyond its rating is a serious safety hazard that can cause tool failure and injury.
- Use carbide-tipped blades with 80-100 teeth for non-ferrous metals like aluminum, 60-80 teeth with triple-chip grind (TCG) for mild steel up to 1/4 inch, and switch to abrasive blades only for thicker or hardened steel when finish quality isn’t critical.
- Metal cutting demands proper safety equipment (goggles, face shield, gloves, long sleeves), a secured workpiece held with a clamp or vise, and patience—never force cuts or remove the blade guard, as metal chips and sparks can cause severe burns.
- Maintain your metal cutting blade by cleaning teeth after each use with a degreaser and stiff nylon brush, inspecting regularly for damage, storing it properly on a pegboard or case, and having carbide blades professionally resharpened instead of replacing them.
What Makes a Metal Cutting Miter Saw Blade Different?
Metal cutting blades differ from wood blades in three critical ways: tooth count, tooth geometry, and material composition. Wood blades typically have 24 to 80 teeth with deep gullets to clear sawdust quickly. Metal blades pack 60 to 100+ teeth with shallow gullets, creating smaller, more controlled chips that don’t clog the cut.
The teeth are also shaped differently. Wood blades use aggressive hook angles (positive rake) to pull the blade through soft fibers. Metal blades feature zero or negative rake angles that scrape rather than grab, reducing the risk of the blade binding or the workpiece being yanked from your hands.
Material matters, too. Most metal cutting blades use carbide-tipped teeth or reinforced abrasive materials that withstand the heat and friction generated by cutting steel, aluminum, or copper. Standard high-speed steel (HSS) teeth will dull almost immediately on metal. Carbide stays sharp through hundreds of cuts.
Another key difference is RPM rating. Metal cutting blades are designed to run at lower speeds than wood blades. Many miter saws spin at 3,000 to 5,000 RPM, which is fine for wood but can overheat metal blades. Some manufacturers produce blades rated for these higher speeds, but always check the blade’s maximum RPM and compare it to your saw’s specs. Running a blade beyond its rating is a safety hazard.
Types of Metal Cutting Blades for Miter Saws
There are two main categories of metal cutting blades for miter saws: carbide-tipped and abrasive. Each has distinct advantages depending on the material and precision required.
Carbide-Tipped Blades
Carbide-tipped blades are the go-to choice for clean, accurate cuts in a variety of metals. The teeth are tipped with tungsten carbide, a material hard enough to slice through aluminum, brass, copper, and even mild steel without dulling quickly. These blades produce less heat, fewer sparks, and leave smoother edges than abrasive wheels.
They’re ideal for cutting aluminum extrusions, copper pipe, thin-wall steel tubing, and non-ferrous metals. Tooth counts range from 60 to 100 teeth for general-purpose work: higher counts yield finer finishes. For cutting thicker steel or harder alloys, look for blades with a triple-chip grind (TCG) tooth design, which alternates between flat-top and chamfered teeth to reduce chipping and extend blade life.
One downside: carbide-tipped blades are more expensive upfront, typically $50 to $150 depending on size and quality. But they last longer and can be resharpened by a professional service, making them cost-effective over time for anyone doing regular metalwork. Home improvement enthusiasts often appreciate the versatility of carbide blades for both light and moderate-duty projects.
Abrasive Blades
Abrasive blades look like grinding wheels, thin, reinforced discs made from aluminum oxide or silicon carbide particles bonded with resin. They cut through metal by grinding rather than shearing, generating significant heat and a shower of sparks.
These blades are best for cutting ferrous metals like rebar, angle iron, or heavy-gauge steel where precision isn’t critical. They’re cheap, often $10 to $30, and widely available, which makes them appealing for one-off demolition or rough fabrication tasks.
The tradeoffs are real. Abrasive blades wear down quickly, sometimes lasting only a dozen cuts in thick stock. They create rough, burr-heavy edges that require filing or grinding. Heat buildup can warp thin materials, and the blade itself gets thinner with each use, eventually requiring replacement. Always wear safety goggles, gloves, and a face shield when using abrasive blades: sparks and debris fly everywhere.
How to Choose the Right Metal Cutting Blade for Your Project
Start by identifying the metal type and thickness. Aluminum and other non-ferrous metals are softer and best cut with carbide-tipped blades featuring higher tooth counts (80 to 100 teeth). The finer teeth reduce heat buildup and prevent the metal from gumming up between the teeth.
Mild steel and ferrous metals up to 1/4 inch thick can be handled by carbide blades with 60 to 80 teeth, ideally with a TCG grind. For stock thicker than 1/4 inch or hardened steel, an abrasive blade is often the more practical choice, though it sacrifices finish quality.
Next, match the blade diameter to your saw. Most 10-inch and 12-inch miter saws accept standard blade sizes, but always verify the arbor size (the center hole). Common arbor sizes are 5/8 inch or 1 inch. Using an adapter bushing to fit a blade with a larger arbor hole is acceptable, but never try to force a blade onto a mismatched arbor.
Check the blade’s RPM rating against your saw’s no-load speed, which is listed in the owner’s manual or on the saw’s label. If the saw spins at 4,000 RPM and the blade is rated for 3,000 RPM max, don’t use it, blade failure at high speed can cause serious injury.
Consider your saw’s power, too. Cutting metal demands more torque than wood. A 15-amp miter saw handles most ferrous and non-ferrous metals without bogging down. Smaller saws (10 amps or less) may struggle with thick steel, leading to overheating and premature wear. According to experienced DIYers, matching blade type to saw capability prevents both poor cuts and tool damage.
Finally, think about the edge finish. If the cut will be visible or welded, a carbide blade’s smooth finish saves time on cleanup. For hidden structural work, an abrasive blade’s rough cut is usually fine.
Safety Tips for Cutting Metal with a Miter Saw
Cutting metal with a miter saw isn’t the same as crosscutting 2x4s. The process generates more heat, sparks, and vibration, so safety protocols are non-negotiable.
Always wear safety goggles or a full face shield, hearing protection, gloves, and long sleeves. Metal chips and sparks can reach temperatures high enough to burn skin or ignite nearby materials. Clear the work area of sawdust, paper, and anything flammable before starting.
Secure the workpiece. Metal is heavier and slicker than wood, and it can shift or spin during the cut. Use the saw’s clamp or a separate vise to hold the material firmly against the fence. Never attempt to hold small pieces by hand, if the blade catches, the stock can become a projectile.
Let the blade do the work. Forcing the cut causes the blade to bind, overheat, or kick back. Lower the blade slowly and steadily through the material, especially on the first inch of entry. If the motor starts to bog down, ease up and let it recover speed.
Use cutting fluid or wax for thicker stock. A light spray of cutting lubricant or a pass with a wax stick along the cut line reduces friction and heat buildup, extending blade life and improving cut quality. This is especially helpful with aluminum, which tends to gum up teeth.
Never remove the blade guard or disable any safety features. Metal cutting generates more debris, and the guard helps contain it. If your miter saw has a laser guide, it’s useful for lining up cuts, but don’t rely on it exclusively, always double-check your measurements.
Finally, let the blade come to a complete stop before raising it or reaching near the cut. Blades can take several seconds to spin down, and impatience leads to contact injuries. Many workshop safety guides emphasize the importance of patience and PPE when transitioning from wood to metal projects.
Maintaining Your Metal Cutting Blade for Longevity
A well-maintained metal cutting blade can last through hundreds of cuts, but neglect will kill it fast. Start by cleaning the blade after each session. Metal residue, especially aluminum, builds up between teeth and reduces cutting efficiency. Remove the blade and soak it in a degreaser or dedicated blade cleaner for 10 to 15 minutes, then scrub the teeth with a stiff nylon brush. Avoid wire brushes, which can damage carbide tips.
Inspect the teeth regularly for chips, cracks, or excessive wear. A single damaged tooth can cause vibration and rough cuts. If several teeth are damaged or the blade has lost its edge, it’s time for replacement or professional sharpening. Most carbide blades can be resharpened two to three times by a saw shop, typically for $15 to $30.
Store blades properly. Hang them on a pegboard or store them in a blade case to prevent teeth from banging into other tools. Even minor impacts can chip carbide.
Keep the saw itself clean, too. Metal dust and chips can clog the motor vents and moving parts, leading to overheating and premature failure. After every few cuts, blow out the saw with compressed air, focusing on the motor housing and pivot points.
Finally, avoid cutting materials the blade isn’t rated for. Using a non-ferrous blade on hardened steel or an abrasive blade on aluminum wastes money and creates safety risks. Match the blade to the material, follow the manufacturer’s guidelines, and the blade will deliver consistent performance project after project.